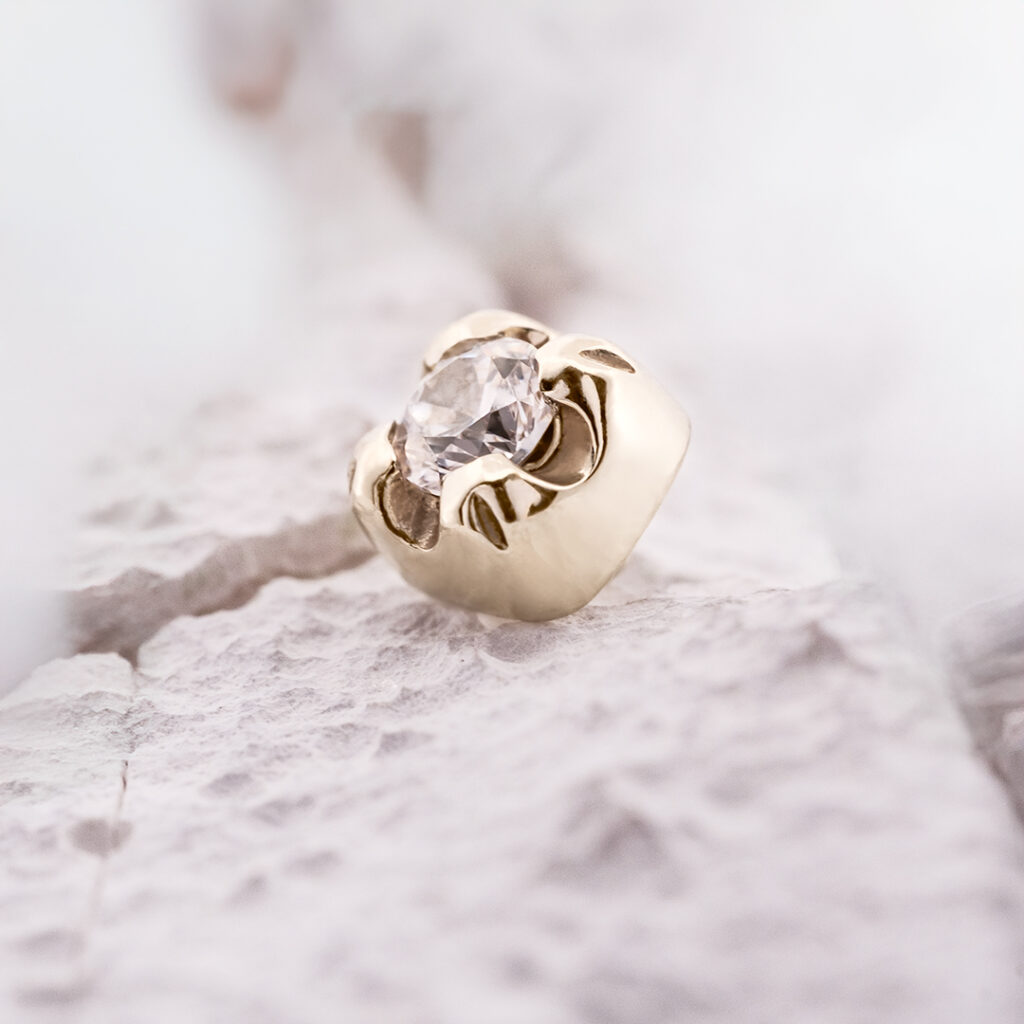
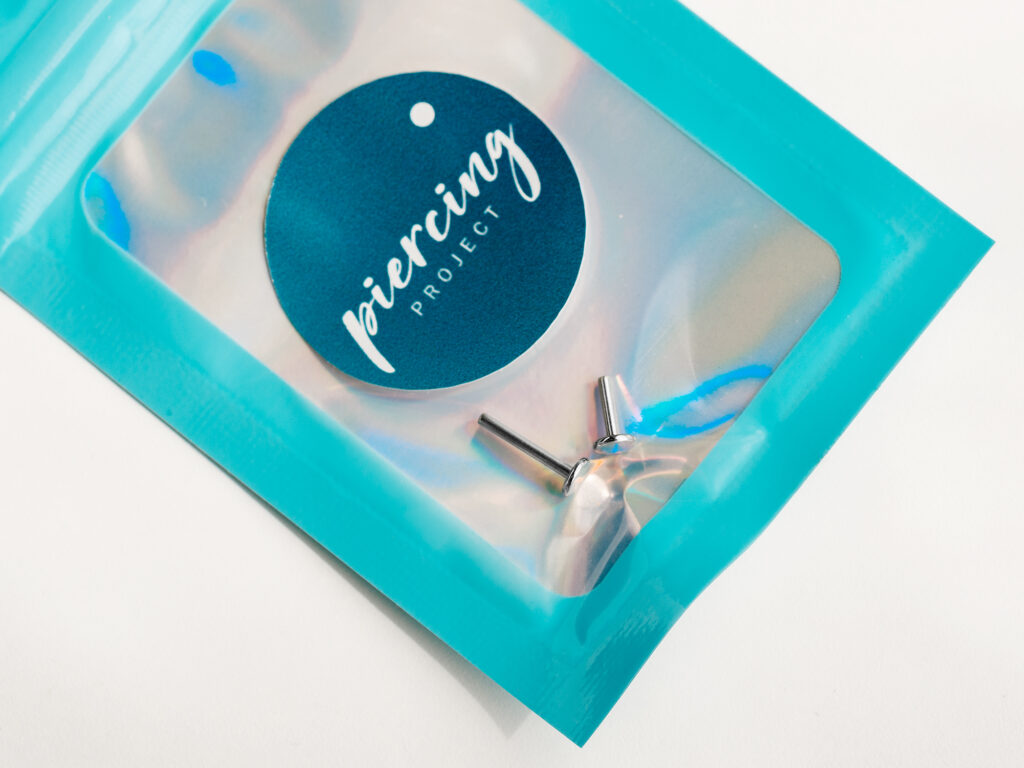
PIERCING PROJECT
Aftercare


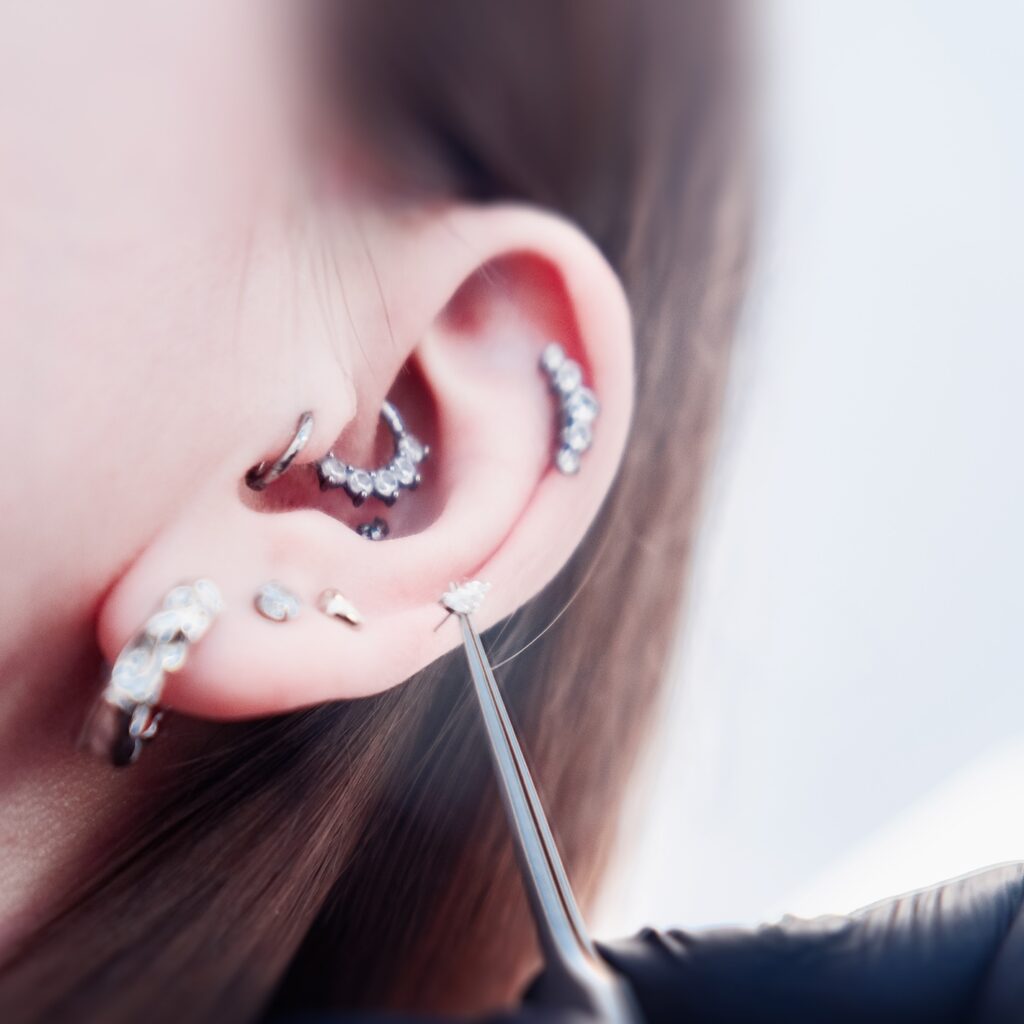
Aftercare for ear, facial, and body piercings
Detailed aftercare guidance for ear, facial, and body piercings: how to clean them properly, what to avoid, what healing timelines to expect, and what to do if you encounter an infection.
1. Initial healing & daily care
When is your piercing considered healed?
Cleaning routine:
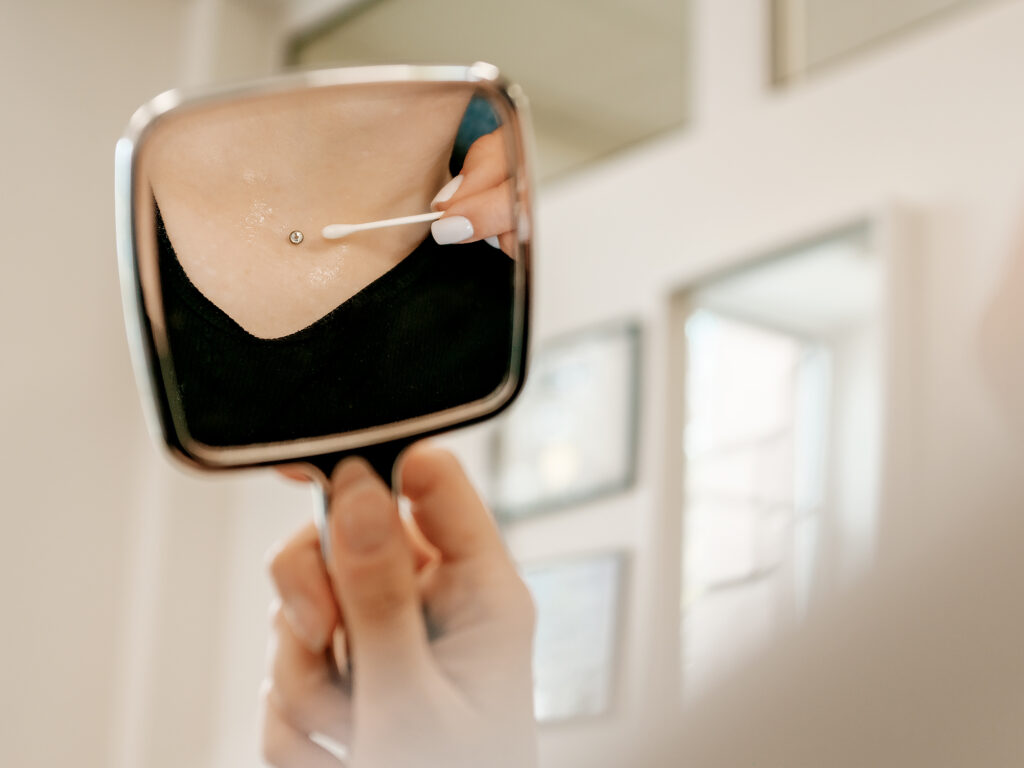
- Always wash your hands thoroughly before cleaning your piercing.
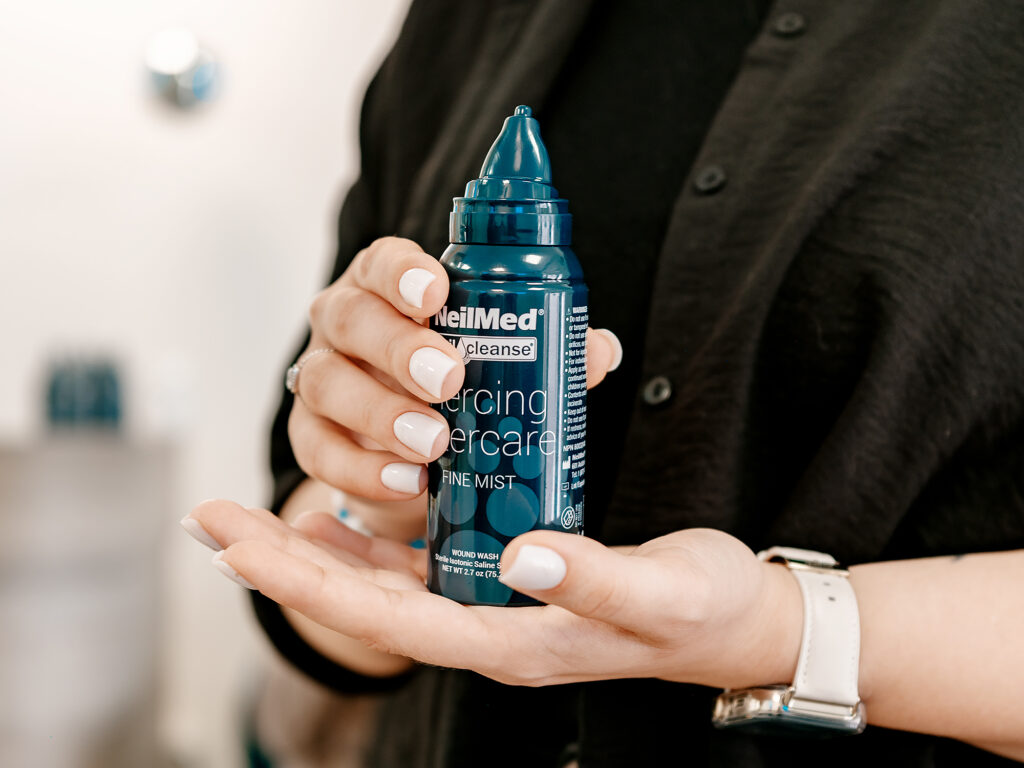
- Use only sterile saline solutions, such as NeilMed.
- Clean with a cotton swab, then gently pat dry.
- Clean twice daily.
Important:
Bathing:
- Be mindful in the shower to avoid snagging your piercing.
- After showering, rinse the piercing with your saline solution.
- For 1 month, avoid baths, pools, lakes, and other bodies of water, as well as saunas.
2. How to support healing
- Don’t touch your piercing with unclean hands.
- Do not pick at scabs or lymph “crusties”—remove them with a saline-soaked cotton swab.
- Avoid mechanical trauma: don’t sleep on your piercing and clean as gently as possible; try not to bump it.
- Avoid using cosmetics on or around the piercing site.
- Check jewelry tightness every 1–2 weeks, as it may loosen during cleaning.
- Even after a year, your piercing can close quickly if jewelry is removed, so avoid taking it out unnecessarily.
3. Healing process
Right after getting pierced:
- Bleeding, bruising, and swelling can occur – that’s completely normal
- Redness and itching around the piercing are common; clear lymph discharge may form “crusties”
- The tissue around the jewelry may feel slightly firmer
If irritation occurs:
Don’t panic—this is often due to insufficient cleaning or accidentally bumping the jewelry.
If you decide to remove your jewelry:
Continue cleaning the piercing daily until the hole closes completely. Usually, a small mark or dimple remains where the piercing was. If you need help, feel free to contact our studio.
4. Healing time
Average healing time:
| Piercing type | Healing time |
|---|---|
| Earlobes | From 2 months |
| Ear cartilage | From 6–9 months |
| Facial piercings | From 2–4 months |
| Nipples, navel | From 4–6 months |
Downsizing (shortening the jewelry bar)
Most piercings will need a shorter jewelry bar during healing.
- This is done only in the studio under sterile conditions.
- Your piercer will advise you on the best time to do this based on your anatomy and healing progress.
5. Need help?
If you suspect an infection:
Do not remove your jewelry. Keeping it in place ensures proper drainage. Removing it can trap the infection inside and lead to complications.
Contact us immediately. The best way is to send us a direct message on Instagram or Facebook.
Have questions?
Reviews
Oral piercing aftercare
Learn how to properly care for oral piercings—how often to rinse, which foods to avoid, how to reduce swelling, and what to do if complications arise.
1. Initial healing & daily care
When is your piercing considered healed?
Daily care:
- Rinse your mouth with an alcohol-free mouthwash twice a day for around 30 seconds.
- If you have food residue in your mouth (e.g., after eating chips or pastries), you may rinse additionally with water.
- Do not touch the piercing with unwashed hands or play with the jewelry.
- Do not change your jewelry before the piercing is fully healed.

2. How to support healing
Usual after getting pierced:
- Light bleeding
- Swelling, bruising
- Tissue around the piercing may feel firm
To reduce swelling:
- Hold a piece of ice in your mouth.
- Try to speak less to reduce movement of the lips and tongue.
- For the first 3 nights, sleep with your head elevated on a higher pillow.
3. Tips for eating
While eating:
- Chew slowly and take small bites.
- Avoid hot, spicy, salty, or acidic foods.
Strictly avoid:
- Smoking, chewing tobacco, or biting your nails.
- Nekramtykite gumos, krapštukų, etc Chewing gum, toothpicks, or similar objects where bacteria can collect.
- Aspirin, alcohol, and high amounts of caffeine – especially if the piercing is still swollen or bleeding.
- Contact with other people’s bodily fluids in the healing area.
4. Jewelry care & healing time
Checking jewelry:
- Check your jewelry once every 1–2 weeks to ensure the ends are secure.
- Since lips and tongues are constantly moving, threaded ends can loosen and fall out.
Risk of closing up:
Even healed piercings can close within a few hours if jewelry is removed, so avoid leaving the piercing empty for extended periods.
Downsizing:
- We often recommend shortening the jewelry bar (downsizing) during the healing period.
- This is done only in the studio under sterile conditions.
- Piercer will advise you on the best timing based on your anatomy and healing progress.
Average healing time:
| Piercing type | Healing time |
|---|---|
| Tongue | From 2 months |
| Lip piercing | From 2–3 months |
| Lip / tongue frenulum | From 1 month |

5. Need help?
- It’s usual for the piercing to get irritated at times, especially due to insufficient rinsing or accidentally knocking the jewelry.
- If you no longer want the jewelry, you can remove it. However, continue rinsing regularly until the piercing has fully closed.
- After healing, a small mark or dot may remain—this is normal.
If you suspect an infection:
Do not remove your jewelry. Keeping it in place ensures proper drainage. Removing it can trap the infection inside and lead to complications.
Contact us immediately. The best way is to send us a direct message on Instagram or Facebook.
Have questions?
Reviews
Dermal anchors aftercare
Learn how to properly care for your dermal anchor: how long to wear a bandage, how often to clean it, and how to know your new adornment is healing well.
1. Initial healing & daily care
When is a dermal considered healed?
Healing typically takes 3–6 months, depending on your body and how carefully you follow aftercare.
Key care steps:
- Wash your hands thoroughly before cleaning.
- Use only sterile saline solution (we recommend NeilMed).
- Clean the area twice a day; dry with a cotton swab.
- Do not change the jewelry top until the piercing is fully healed.
What to avoid:
2. Dermal care
Using bandages:
- After the procedure, we will cover the area with a bandage.
- Wear the bandage for the first week.
- Change it twice a day (or more often if there is bleeding).
- Each time you change it, rinse and dry the dermal area.
Showering:
- While showering, take care not to bump your piercing.
- After showering, rinse the piercing with your saline solution.
- For 1 month, avoid baths, pools, lakes, and other bodies of water, as well as saunas.
3. Healing process & tips
Normal signs of healing:
- Light bleeding, bruising, swelling.
- Redness, itching, clear lymph fluid that may harden into “crusties.”
- The tissue around the implant may feel firm.
What to avoid:
- Do not touch the piercing with dirty hands.
- Do not pick off crusties or lymph residue—use saline and a cotton swab instead.
- Avoid trauma from clothing, sleeping on the piercing, or sudden cleaning movements.
- Do not apply cosmetics directly on or near the piercing.
4. Removing a dermal
- If you decide to remove your dermal anchor—do not do it yourself!
- Removing it on your own can damage the tissue and leave noticeable scars.
- Book a professional removal appointment to ensure the dermal leaves only a small mark or dot.
Average healing time:
| Piercing type | Healing time |
|---|---|
| Dermal implantas | From 3–6 months |
5. Need help?
If you suspect an infection:
Do not remove your jewelry. Keeping it in place ensures proper drainage. Removing it can trap the infection inside and lead to complications.
Contact us immediately. The best way is to send us a direct message on Instagram or Facebook.
Have questions?
Reviews